Alright, folks, let’s dive into the world of Ethernet switches! Think of an Ethernet switch as the traffic cop of your network. It directs data where it needs to go, ensuring everything runs smoothly without any gridlock. Whether you’re setting up a home office or a mini data center, understanding how to set up an Ethernet switch is crucial. So, grab your toolkit (or just your laptop), and let’s get started!
What is an Ethernet Switch?
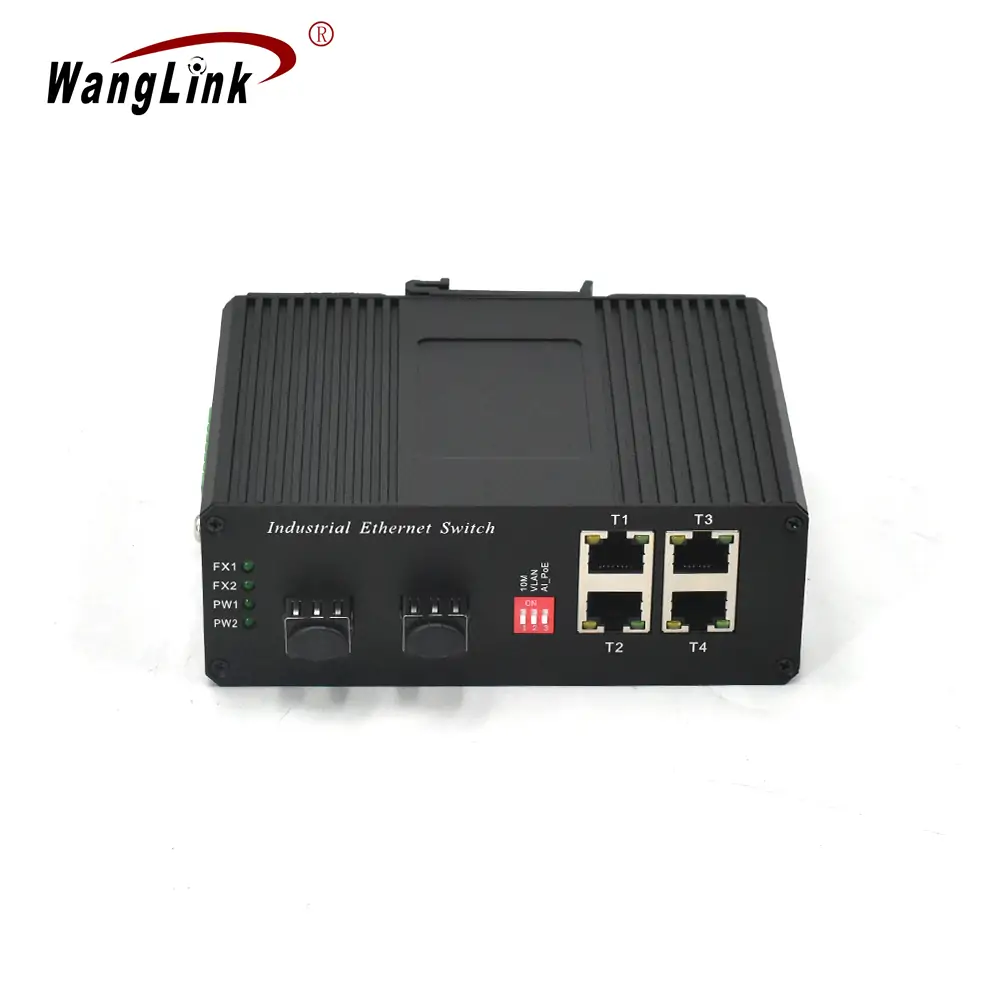
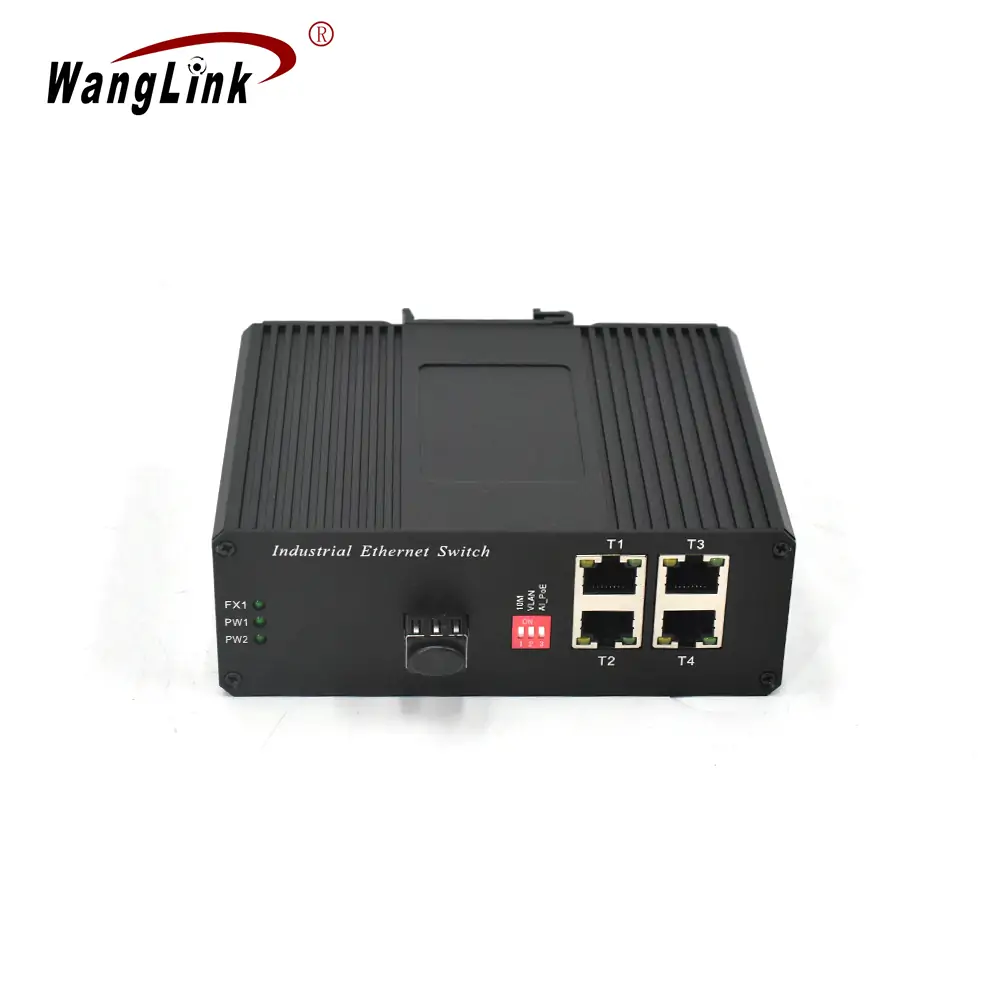
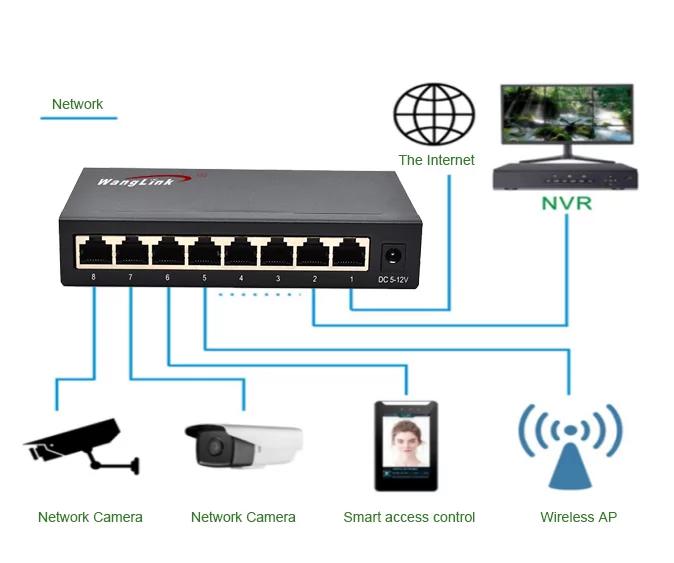
Imagine you’re at a party, and everyone’s trying to talk to each other. Without a good host (that’s your Ethernet switch), conversations get jumbled, and no one hears anything. An Ethernet switch connects multiple devices—like computers, printers, and servers—within a local area network (LAN). It receives data packets and decides which device should get the information, sending it only to the intended recipient. This makes it more efficient than a hub, which just shouts the data to everyone.
How Does It Work?
Here’s the scoop: when a device sends data, it includes the MAC address of the destination device. The switch reads this address and creates a table that maps which device is connected to which port. This way, it knows exactly where to send the data. Think of it like a postman who knows everyone’s address by heart—no need to deliver mail to every house!
Setting Up Your Ethernet Switch
Now, let’s get our hands dirty. Setting up an Ethernet switch is as easy as pie—if you know the steps. Here’s a simple guide that even your grandma could follow!
Step 1: Gather Your Gear
You’ll need:
- An Ethernet switch (the hero of our story)
- Ethernet cables (the magical threads that connect everything)
- A power source (because even switches need a little juice)
- Devices to connect (like computers, printers, or gaming consoles)
Step 2: Connect the Switch
- Power it Up: Plug the switch into a power outlet. You should see some lights blinking—this is a good sign!
- Plug in Your Devices: Connect your devices to the switch using Ethernet cables. Just plug one end into your device and the other into the switch. It’s like connecting Lego blocks—snap them together!
Step 3: Configure the Switch (Optional)
For most home users, just plugging in the cables will do the trick. However, if you’re feeling adventurous and want to configure settings (like VLANs or link aggregation), you might need to access the switch’s web interface. Here’s how:
- Find the IP Address: Check the manual for the default IP address (usually something like 192.168.1.1).
- Log In: Open a web browser, enter the IP address, and log in using the default username and password (also found in the manual).
- Adjust Settings: From here, you can tweak settings to your heart’s content. Just remember, with great power comes great responsibility!
When to Buy an Ethernet Switch
So, when should you consider investing in an Ethernet switch? Here are some scenarios:
- Home Office: If you have multiple devices that need stable connections (hello, video calls!), a switch will keep everything running smoothly.
- Gaming Setup: For gamers, every millisecond counts. A wired connection through a switch can reduce lag and improve your gaming experience.
- Small Business: If you’re running a small business with several computers and printers, an Ethernet switch helps manage the network efficiently.
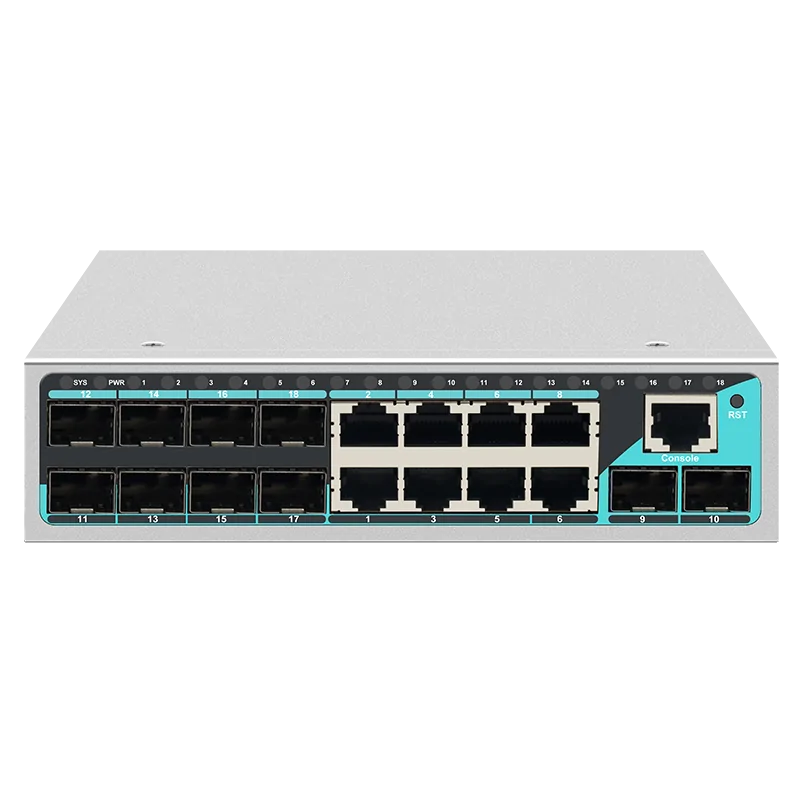
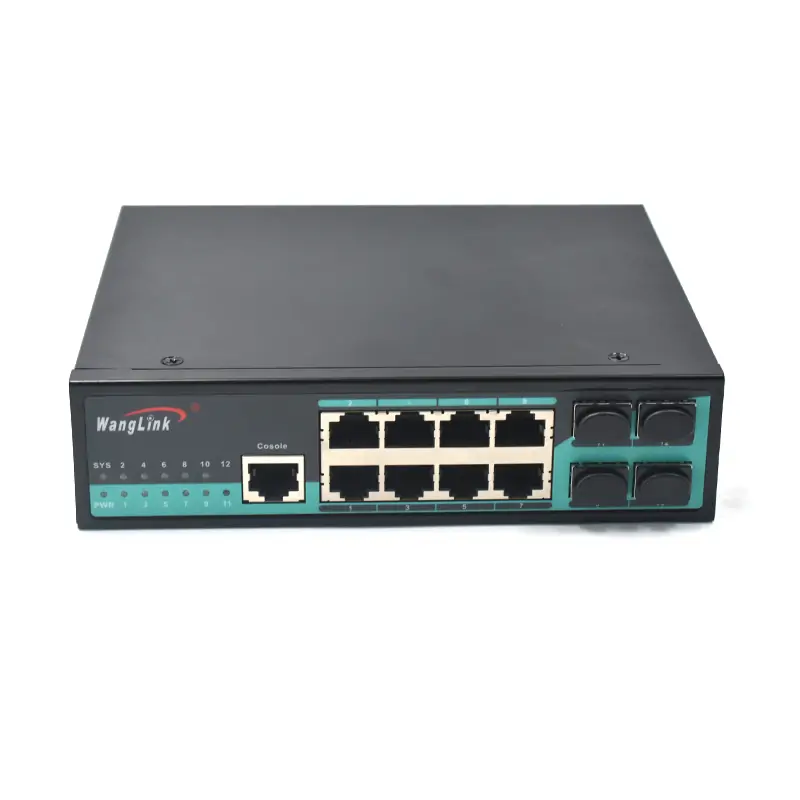
Choosing the Right Ethernet Switch
When shopping for a switch, consider these factors:
- Number of Ports: More devices mean you’ll need more ports. Common options are 5, 8, 16, or even 24-port switches.
- Speed: Look for at least a Gigabit Ethernet switch for fast data transfer.
- Management Features: If you’re tech-savvy, consider a managed switch that allows for greater control over your network settings.
Conclusion
Setting up an Ethernet switch doesn’t have to be rocket science. With a little guidance, you can turn your chaotic network into a well-oiled machine. Just remember, the key is to connect, configure (if needed), and enjoy the seamless experience. So, go ahead, unleash the power of your network, and let the data flow like a smooth jazz tune!
Now go forth and conquer your network setup! And if you run into any hiccups, remember: even the best traffic cops sometimes need a coffee break. Happy networking!